# 部署vuepress
以下将讲述如何将vuepress文档部署到github pages,如果想部署到其它地方,请移步到这里学习
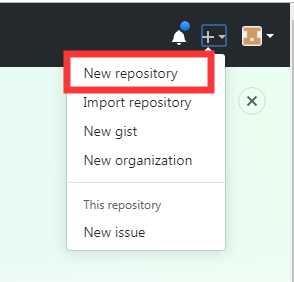
一、注册一个github账号后,然后新建一个仓库,新建仓库步骤如下图所示:
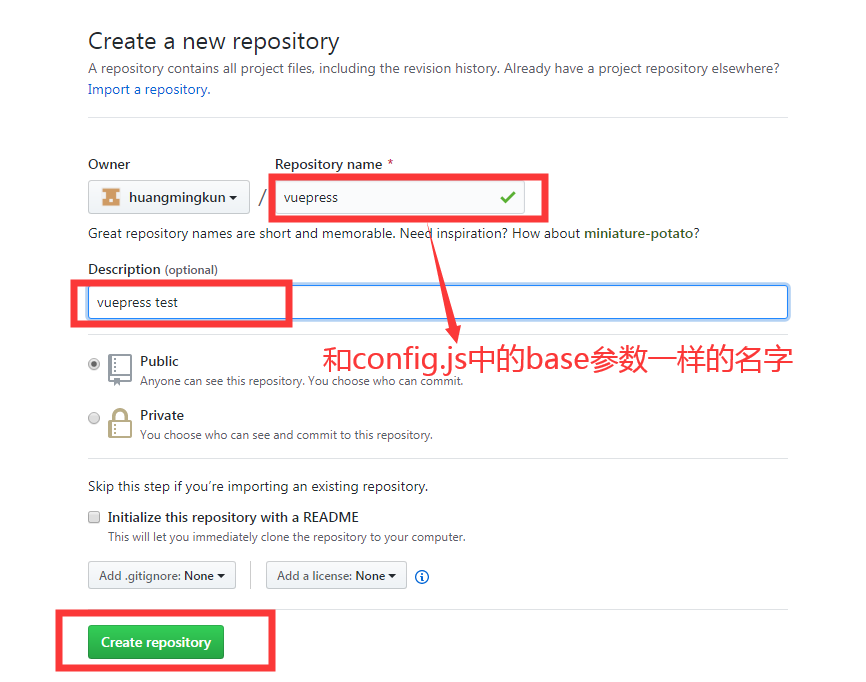
二、 配置config.js的base参数(base参数要和github创建仓库名字一致)
module.exports = {
 title: 'VuePress',
 description: 'vuepress学习过程',
 base: '/vuepress/',
 markdown: {
   lineNumbers: true
 },
 themeConfig: {
   locales: {
     '/': {
       nav: [
         // {
         //   text: '中文',
         //   ariaLabel: 'Language Menu',
         //   items: [
         //     { text: '中文', link: '/' },
         //     { text: 'English', link: '/en/' }
         //   ]
         // },
         { text: 'Github', link: 'https://github.com/huangmingkun' },
         { text: 'vuepress官网', link: 'https://vuepress.vuejs.org/zh/'}
       ],
       sidebar: {
         '/':[
           {
             title: '文档介绍',   // 必要的
             path: '/',      // 可选的, 应该是一个绝对路径
             collapsable: false, // 可选的, 默认值是 true,
             sidebarDepth: 0,    // 可选的, 默认值是 1
             children: [
               {
                 // title: '基础',
                 collapsable: false,
                 sidebarDepth: 0,    // 可选的, 默认值是 1
                 children: [
                   ['document/start', '安装vuepress'],
                   ['document/layout', 'vuepress布局'],
                   ['document/deploy', '部署'],
                 ]
               }
             ]
           },
           {
             collapsable: false, // 可选的, 默认值是 true,
             title: 'TODO',
           }
         ]
       }
     }
   }
 }
}
1
2
3
4
5
6
7
8
9
10
11
12
13
14
15
16
17
18
19
20
21
22
23
24
25
26
27
28
29
30
31
32
33
34
35
36
37
38
39
40
41
42
43
44
45
46
47
48
49
50
51
52
53
2
3
4
5
6
7
8
9
10
11
12
13
14
15
16
17
18
19
20
21
22
23
24
25
26
27
28
29
30
31
32
33
34
35
36
37
38
39
40
41
42
43
44
45
46
47
48
49
50
51
52
53
三、设置部署指令
- 在项目的根目录下创建deploy.sh文件(好处:部署时候不用自己一个代码一个代码地敲~)
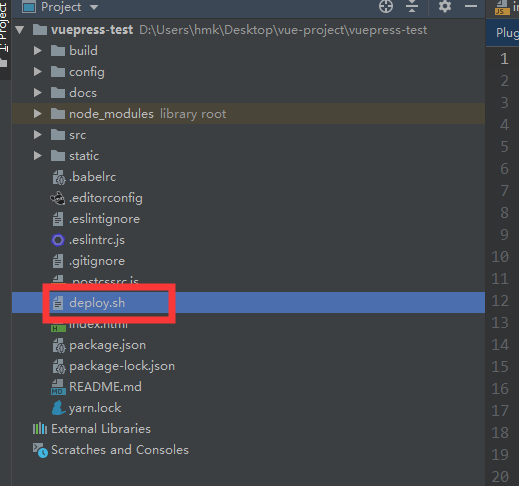
- 创建好文件后,在文件输入以下代码(高亮部分的代码需要根据实际情况进行修改)
#!/usr/bin/env sh

# 确保脚本抛出遇到的错误
set -e

# 生成静态文件
npm run docs:build

# 进入生成的文件夹
cd docs/.vuepress/dist

# 如果是发布到自定义域名
# echo 'www.example.com' > CNAME

git init
git add -A
git commit -m 'deploy'


# 如果发布到 https://USERNAME.github.io/<REPO>  REPO=github上的项目
# git push -f git@github.com:USERNAME/<REPO>.git master:gh-pages
# 例如我的github帐号名为huangmingkun,新建的仓库为vuepress,指令修改如下:
git push -f git@github.com:huangmingkun/vuepress.git master

cd -
1
2
3
4
5
6
7
8
9
10
11
12
13
14
15
16
17
18
19
20
21
22
23
24
25
26
2
3
4
5
6
7
8
9
10
11
12
13
14
15
16
17
18
19
20
21
22
23
24
25
26
- 在package.json文件的scripts输入
"deploy": "bash deploy.sh",ps:用于执行deploy.sh文件
"scripts": {
    "dev": "webpack-dev-server --inline --progress --config build/webpack.dev.conf.js",
    "start": "npm run dev",
    "lint": "eslint --ext .js,.vue src",
    "build": "node build/build.js",
    "docs:dev": "vuepress dev docs",
    "docs:build": "vuepress build docs",
    "deploy": "bash deploy.sh"
  },
1
2
3
4
5
6
7
8
9
2
3
4
5
6
7
8
9
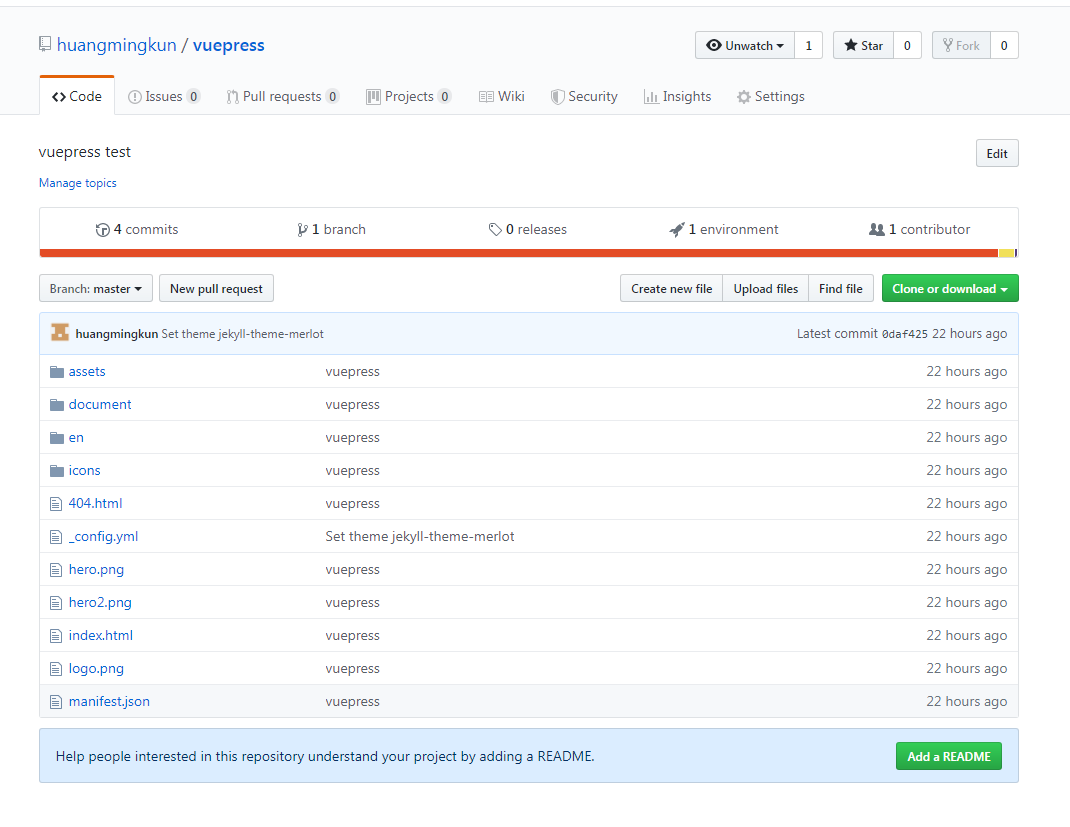
- 全部配置完成后,即可运行npm run deploy 或者yarn run deploy,不出意外,文件都可以上传到github仓库了
打开github相应的仓库就可以看到下图所示的效果:
tip
如果在运行指令时候出现如下的错误,导致无法连接到github仓库的情况
Warning: Permanently added the RSA host key for IP address '52.74.223.119' to the list of known hosts.
1
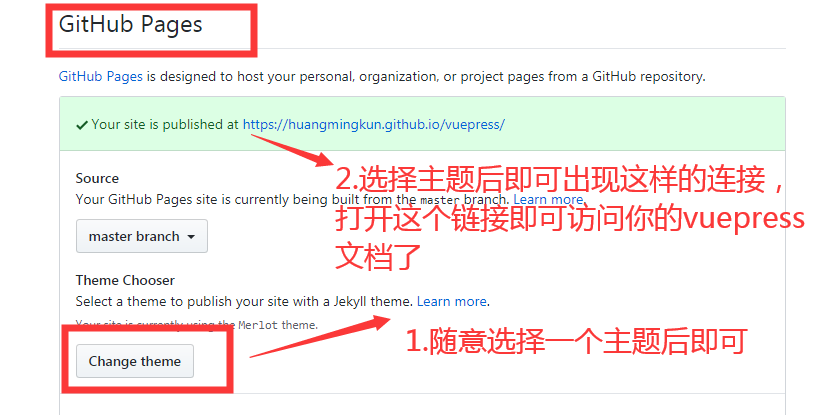
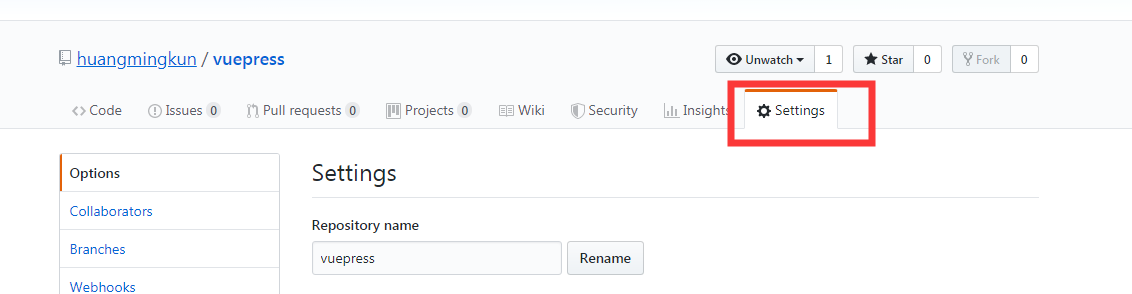
四、配置github
步骤一:
步骤二:完成图片第一个步骤后,刷新一下github页面再打开链接才能生效~